One of the smart solutions to home comfort is a ductless mini-split installation, which is a mini split air conditioner. Such systems are ideal when cooling or heating only a single room, home addition or a garage, or other area which requires a specific location to be cooled/heated. It does not matter whether you are a DIY lover or are just checking your options, the knowledge of installing a mini split AC system will guide you to make the right choice. In this guide, we go through the step-by-step installation of mini split – including not only the selection of a location to install mini split but also the electrical and refrigerant connections. Although one can indeed DIY this with a small queue of homeowners, doing this with the advice of a professional like GN Mechanical Services is always a prudent thing to do, to ensure the safety and effectiveness of installation.

What Is a Ductless Mini Split Air Conditioner?
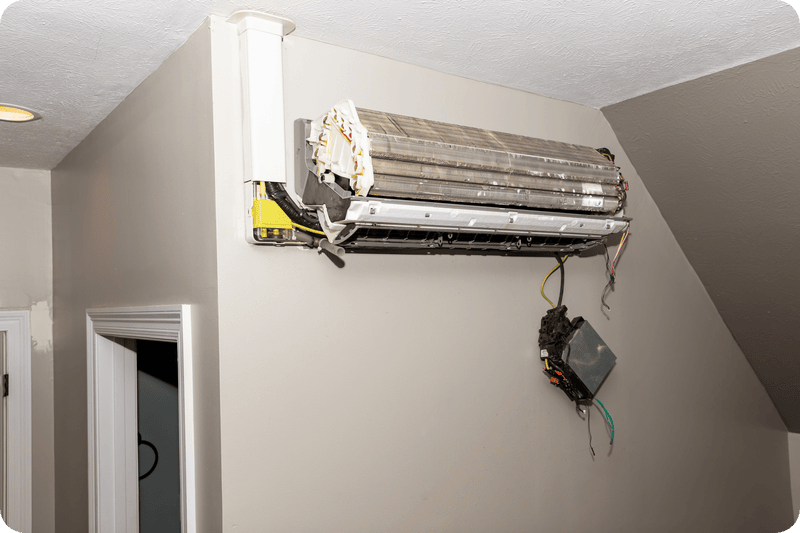
A ductless mini split air conditioner installation is a small size HVAC system that enables zoned climate control without ducts. The system has two fundamental parts an indoor air handler and an outdoor condenser, which is linked together through a refrigerant pipe. In contrast to central systems, mini splits installation provides versatility, which may be of use when it comes to retrofitting of old houses or areas with ductwork impossible to install. These systems are efficient, soundless and comparatively convenient to put in. Ductless minisplit installation is also a modern process that will not only help the homeowner to save on high utility bills, but it will also offer comfort to the household. The installation of the Install ductless air conditioner can be one of the wise investments whether you want to upgrade the whole air conditioner system or add the functions of cooling in just one of the rooms.
What You Need Before Installing a Mini Split AC Unit
It is crucial that before you start your ductless air conditioning installation, you get the correct tools and know what is necessary. Some of the basic tools that have been required are a level, a drill, hole saw, torque wrench, and a vacuum pump. A mounting bracket, refrigerant lines and the adequate electrical wiring will also be required. In case of the outdoor condenser you should have a flat steady base or stand. Protective gears such as gloves, goggles are essential, not to mention when handling electrical connections or any refrigerant. Although it can be possible to install DIY mini split AC as an experienced homeowner, it is not a small job. Do you have any uncertainty over permit issues, electrical provisions, or refrigerant? Our GN Mechanical Services team is prepared to serve your needs with skilled professional and code-conforming installation.
Step 1: Choose the Right Location for Your Mini Split Units
In the installation of a mini split system, correct installation and placement is important. The indoor should be placed high in a interior wall where the air can circulate freely all around. Do not place him in the direct sunlight or near the heat sources or areas blocked with curtains or high furniture. The outdoor condenser should be chosen as a flat surface with some airflow, not near a window or a high foot traffic place. Adequate spacing on all sides should be provided to maintain and ventilate. The length of the set line should be kept as small as possible to still remain very efficient. This is because when you are install ductless mini split in your bedroom, office, or garage, the location is the foundation of the whole process; the easier it is to install it in the right location; the easier it becomes to carry on with the rest of the installation.
Step 2: Mount the Indoor Unit and Prepare the Wall Opening
After choosing the site, fix the installer of indoor air handler mounting bracket. Make sure that the unit will hang straight by using a level, and attach it to wall studs to add reinforcement. The next thing is to bore your wall to a hole of 2.5-3 with a little down slant. The refrigerant lines, drain hose and communication cable will run through this hole. Put a protective sleeve or wall sleeve into the hole to protect the hole against weather and insects. Proper drainage of water out of a unit is guaranteed by an angled clean cut. When installing a ductless AC unit, it is highly recommended to work at the wall preparation to the point where your system and your home will face no future problems such as condensation or even water leakage.
Step 3: Install the Outdoor Condenser Unit
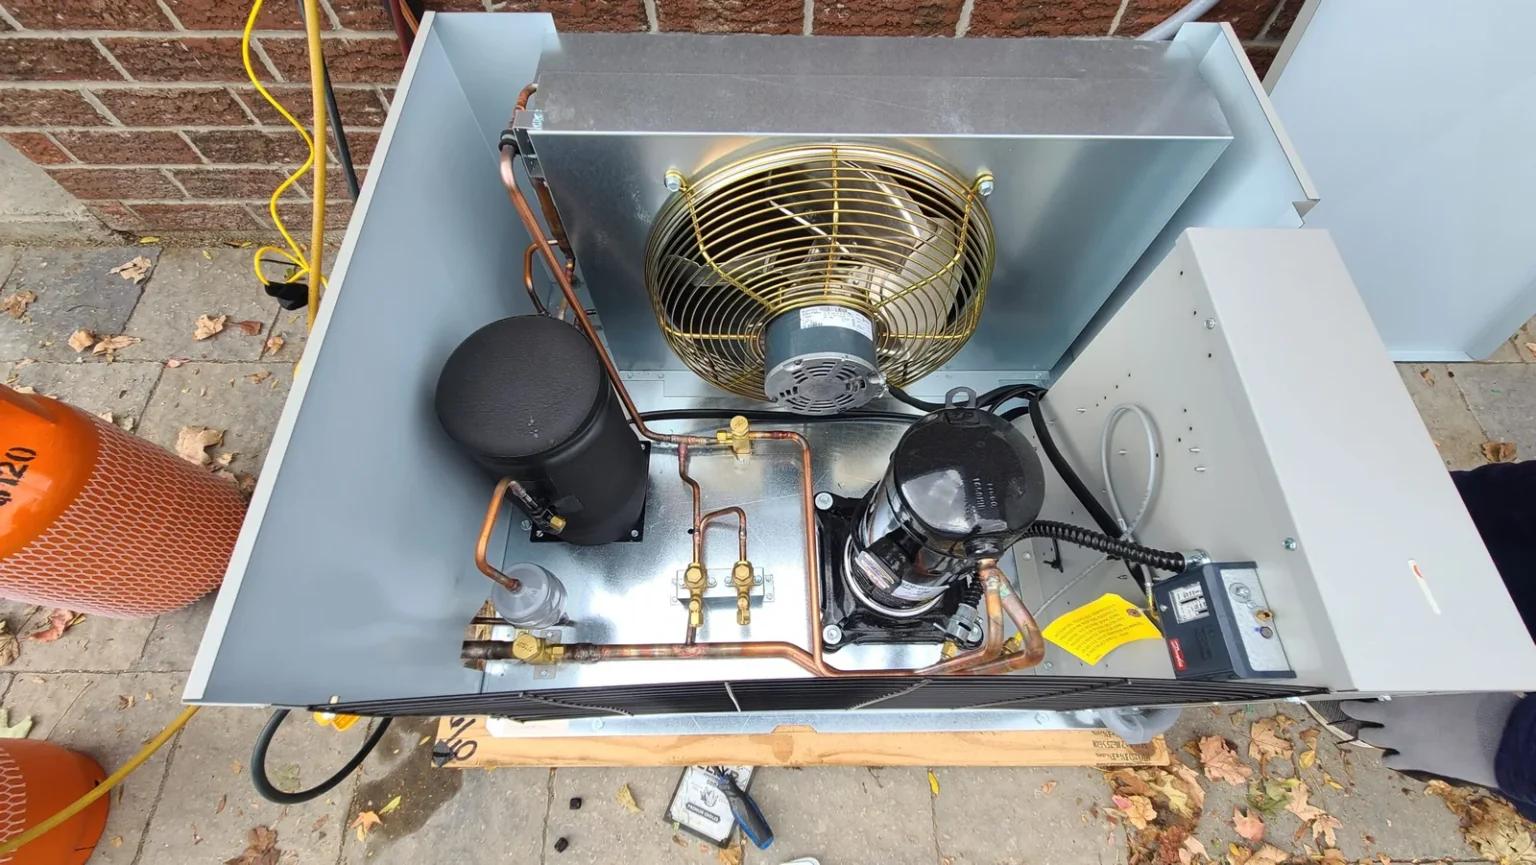
Your outdoor unit or condenser must be set on stable pad, a wall mount or a concrete platform. It should be level and high because it should not hold the water. There should be sufficient space (at least 12″ away from walls, barriers) in the unit as well to allow free airflow. Expose the line set, communication wire as well as the drain pipe to the wall opening and connect with the indoor unit. It is important to align the lines of the refrigerant to prevent bending and/or kinking as this will influence performance. A professional split unit AC installation crew such as GN Mechanical Services is able to provide assurances to homeowners who are uncertain about how electricity should be connected and whether mounting is secure enough or not, and position the system in such a way that it is safe, code-compliant, and capable of functioning properly.
Step 4: Connect Refrigerant Lines and Electrical Wiring
Now that it has the mounted units, one must connect the refrigerant tubes and the electrical wires. It should be done carefully, both lines need to have the insulation done and need to be tightened on a torque wrench to the manufacturer specifications. Electrical wiring normally contains a dedicated 240v line and disconnect box. This is a difficult job to do usually, and if you do not understand wiring or NEC electrical codes, then you should not do it without assistance. Due to the accurate electrical set-up, safety and efficiency of the system are determined. An accredited HVAC expert can help provide an installation of ductless mini split that promotes all the requirements. In our company, GN Mechanical Services, homeowners frequently delegate this part to us lest electrical related accidents or leakages of refrigerants destroy the unit.
Step 5: Vacuum, Charge, and Test the Mini Split System
The refrigerant lines should be vacuumed to eliminate moisture and air before your system is run. This guarantees effective cooling and lasts long without damaging. Evacuation of line set to a vacuum is performed with a vacuum pump and then pressure testing. When the vacuum is maintained, give the pre-charged refrigerant in the outdoor unit. Switch on a system and test its functioning Normally, there should be no unusual noise, and air flow should be normal, and both heating and cooling should work. This is the last step to your mini split AC installation and it just proofs that all is sealed, charged and connected as needed. In case any aspect of this procedure is challenging then the professionals in GN Mechanical Services are willing to help by offering professional installation and testing.
Common Mistakes to Avoid During Mini Split Installation
Although it can be said that the process of installing a ductless mini split system is easy, there are a number of errors that can undermine its performance, or even destroy the system. Wrong positioning is one of the greatest problems: indoor and outdoor appliances should have free air circulation and a proper height to work effectively. The other error is missing the vacuum step and this may entrap moisture inside the refrigerant lines resulting to corrosion. DIY installers may over tighten or under tighten line fittings resulting in leakage. Another common mistake that may cause breakers to go off or electronic destruction is wrong wiring. Lastly, work by the incorrect equipment or failure to follow the permit process can also result in code violation. To have a perfect mini split AC installation, one should leave it to the experts such as GN Mechanical Services that can guarantee safety and compliance and long term performance.
Should You Install a Mini Split AC System Yourself?
It is possible to install a mini split AC with a DIY if you are really handy or you have one which is ready to install but it is not the ideal situation to all of us. Ducted ac install If you have previous knowledge of electrical and HVAC, you can properly install a ductless AC. Nevertheless, issues such as electrical code, refrigerant and line set connections sometimes need professional expertise. In most places, permits up are needed, and using the wrong installation may cancel your factory warranty. The advantage of employing a qualified and licensed technician in your system such as those of GN Mechanical Services is that you can be sure of the system being installed safely and efficiently. Our highly qualified team installs ductless mini split air conditioners throughout your home and businesses to guarantee that on the first day yours will be running as efficiently as possible.
What’s the Cost to Install a Mini Split AC System?
Depending on how many of these zones you plan, how large the system should be, etc. the price of the mini split AC installation may differ as well, especially when there are self-installed minis and when hiring someone. DIY kits can be priced on average between $1,500 and $3,000, without tools. A single zone system can be professionally installed at around $3500 to 7500, and the multi-zone systems tend to be expensive as well. Pricing may be affected by considerations, such as the access to a wall, the extent of the line set and the electrical installation. Although DIYs may appear cheap, the effects of the incorrect installation will be repair imperatives and loss of efficiency in the future. Whether you are looking at ductless mini split installs, we provide low prices and clear estimates at GN Mechanical Services and cover the workmanship on a job with warranties.
Maintenance Tips After Installing Your Mini Split AC
The life and performance of your mini split system are prolonged by proper maintenance. To begin with, you may clean or replace the air filters on a monthly basis when there is a peak in usage. Keeping the indoor unit dust free or wiping it occasionally will help minimize buildup of dust. You should also inspect the outdoor condenser frequently to ensure that no leaves or other clutter is clogging the device to restrict airflow. Check to make sure that the condensate drain is unblocked to prevent leaking. Make review once a year where you could examine the pressure of refrigerants and verify that the electrical parts are well-fastened. With regular maintenance, your ductless air conditioner can keep providing clean, efficient comfort year after year. When you have issues like strange sounding or less cooling or increase in bills, then contact GN Mechanical Services to solve and trouble shoot it.
Mini Split AC Installation FAQs
Q: Can I install a mini split system myself?
A: Technically, yes — but it requires HVAC knowledge, tools, and attention to detail. Mistakes can be costly, so consider hiring pros like GN Mechanical Services.
Q: How long does ductless AC installation take?
A: A single-zone install typically takes 4–8 hours with a professional. DIY installs may take longer depending on experience and tools.
Q: Do I need a permit to install a mini split?
A: Most local codes require a permit, especially for electrical work. Our team can handle all code and permit requirements.
Q: Is a vacuum pump necessary?
A: Yes. It removes moisture and air from the system to ensure proper performance and avoid damage.
Q: What’s the lifespan of a ductless mini split system?
A: With proper maintenance, these systems can last 15–20 years.


